Website Html Checker – Getting started
Installation and Extensions
Download the latest version of the software from our web site, then double-click the downloaded file and follow the onscreen instructions to complete your installation.
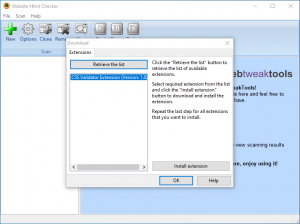
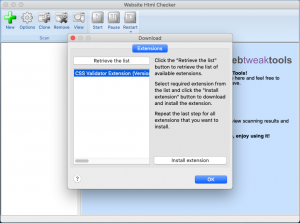
When the program starts, we recommend downloading all extensions that suits your fancy. To install extensions, click the "Retrieve the list" button to retrieve the list of available extensions. Select required extension from the list and click the "Install extension" button to download and install the extension. Repeat the last step for all extensions that you want to install.
Setting up website options
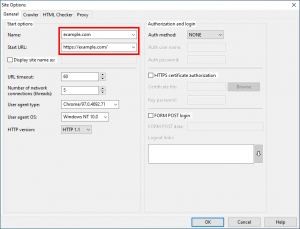
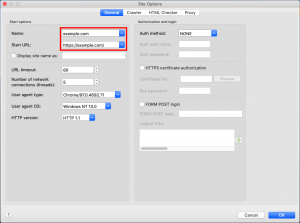
Click the "New" button to create a new scan. It is enough to enter "Name" and "Start URL" to run a scan with default settings.
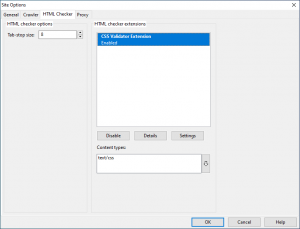
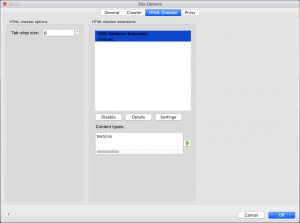
On the "HTML Checker" tab you can enable extensions that you want to use in this particular scan.
Checking website for HTML or CSS errors
Once the scan is created, you can start it by clicking the "Start" button. You can use the "Pause" button to pause the scan and "Start" button to resume. When the scan has some data, the "Options" button is disabled, and it will be disabled unless you click the "Restart/Reset content" button. However, the "Clone" button is enabled in the paused or finished state, you can click it to view scan options. Also, it is safe to resume the scan if it has paused accidentally in such circumstances as power outages.
Viewing html checker results
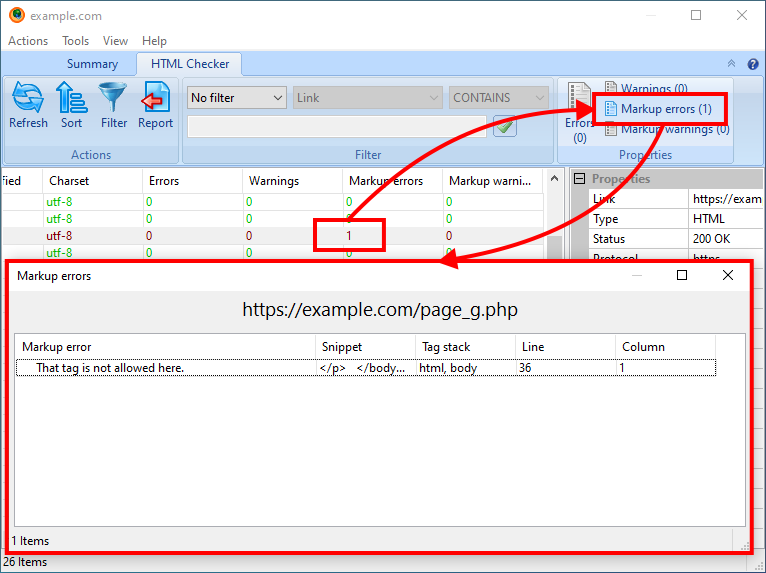
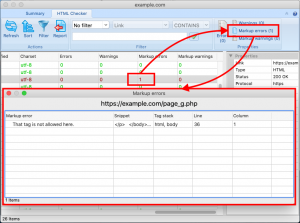
Click the "View" button to view results. Broken links are shown in light red and pages with markup errors in dark red. You can sort or filter by the "Markup errors" or "Markup warnings" column for pages that have markup errors or warnings. You can click the "Markup errors" or "Markup warnings" button to view those markup errors or warnings.

